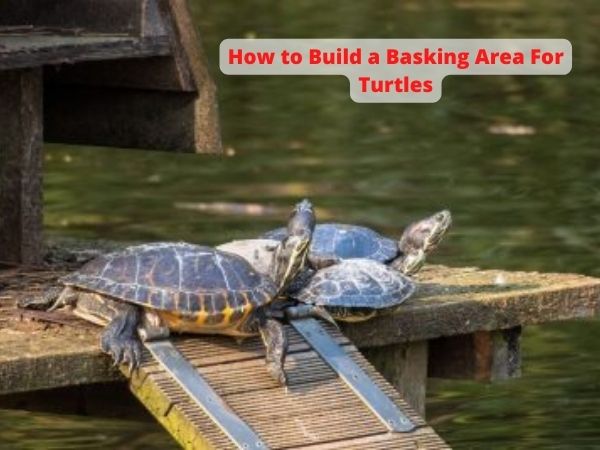
How to Build a Basking Area For Turtles | Cheap and Easy!
Hey, I know that if it is your first time having a turtle as a pet you must be beating up yourself on how to build a basking area for turtles. Don’t worry. I am here to help. I will show you how to build an easy and cheap basking area for turtles. So stick around for that.
At the end of this article, you will be able to build one of the simplest and most cost-effective basking areas for your turtle.
Materials That You Need
The materials you need are very simple materials. They are readily available, and you don’t have to spend so much on them.
- Plastic bin
- Wire coat hanger
- Pliers
- Wire Cutter
- A couple of zip ties
- The Extra piece of plastic
- Rubber shelving liner – optional
NOTE: You can choose the hanger wire that’s coated with rubber to minimize any form of corrosive effects.
Penn-Plax Reptology Turtle Topper and Extension Clips:
[amazon box=”B002O09MYE” grid=”1″ price=”none”]
This is a product that helps turtles feel more comfortable. It is a platform that goes above the tank and clips on. This makes it easier for the turtle to bask in the sun.
What You Must Remember
Before you set down to building the basking area for your turtle, there are a few things that you should know.
The very first thing that you must keep in mind on how to build a turtle basking area is the plastic bin.
The size of the plastic bin must remain relative to the main size of the turtle that you want to set inside. If they are many, you should do the proper calculation to determine the correct size of the bin.
Experts recommend that a little hatchling should do great with the shoe box that measures about 6 qt.
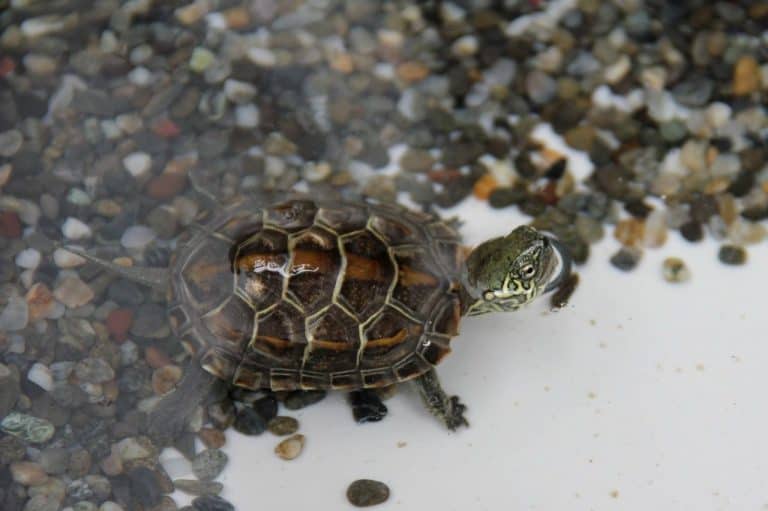
NOTE: I use a 15 qt. shoe bin for my 4-inch diamondback terrapin turtle. I will increase the size as the turtle grows. So if you have a larger turtle, such as a grown red eared slider then you can change into a sweater box.
How to Build a Basking Area For Turtles
With that said, it is time for us to take a look at how to build a turtle basking area. The steps that I am going to give you should be very helpful. Even so, the size of the box should remain relative to that of the turtle at the end of it all.
Step I
Take your plastic shoe bin and then cut a square hole on it. Make sure the hole is big enough for the turtles to climb through as they go up to the basking area.
You can measure the size of your turtle and mark the area you want to cut with a marker. This will leave you with a wide enough opening for them to walk into.
Penn-Plax Reptology Floating Turtle Pier and Basking Platform
[amazon box=”B004PBCFG2″ grid=”1″ price=”none”]
The Penn-Plax Reptology Floating Turtle Pier and Basking Platform is a great way to help your pet turtle. The pier has a platform that four pylons stand on. The pylons have suction cups to attach to the bottom of the tank. Make sure you clean the suction cups and the contact areas before you attach them to the tank.
Step II
Not take the extra piece of plastic and use it to extend the size of the ramp. Longer ramps are easy to mount. The turtles will find it easily and climb if faster as they will get a cool base to support their weight.
Take the extra piece of plastic and drill some holes in it. The line that extra plastic with the hole that you cut into the bin.
Step III
Set the gradient of your ramp. Make sure it is gradual so that your turtles can climb them easily. This should be drilled before putting up your zip ties through.
When securing the plastic with the zip ties, you should keep the zip ties facing the bottom part so that they don’t poke the turtle as the turtle goes up the ramp.
Step IV
Once the ramp is cut and connected, you will notice that the ramp is flimsy and that it can’t support the weight of the turtle.
This is why you need the wire hangers. Cut the wire hangers into equal pieces. You can go with about 6 centimeters depending on the size of your aquarium.
Then drill holes on the top and drill holes on the lower side along the edges of the ramp. Then use the wires to secure the ramp so that it doesn’t play or even move.
When securing the ramp, you will pass the wire through the top holes and through the bottom holes and hook them in place.
NOTE: On the side towards the very top of this ramp-bin, where water levels won’t reach, you can set in the lights. This should be on any side of the wall that you choose.
You should have a great ramp for your turtle to bask on.
Additional Tips
Now that you have your ramp, I want to give you a few additional tips that will help you when building a cheap ramp for your turtle.
When choosing the ideal material for your cheap ramp, ensure that it is grippy enough for your turtle to climb onto easily. Choose a bin with a rough floor.
If the surface you have chosen doesn’t have enough grips, you can add rubber liner on top to add more grip.
Make sure the basking space is big enough to accommodate all your turtles at the same time since turtles spend more time basking too.
Never try to force a turtle to go and bask. They know when they want to bask and will step on to the basking plane naturally.
Use the right type of lights around the basking pane. The lights should be the UVB lighting spectrum that provides heat.
NOTE: Always remember to set the right water temperatures for your turtles. The water should also be kept clean so that you prevent any forms of infections and diseases. Clean the aquarium after every two days.
Conclusion:
I hope that this post has helped you to understand the best way on how to build a basking area for turtles. It is simple, easy, and very much affordable. This is the best ramp for people who are just starting to keep a turtle as a pet and don’t have enough money to build an executive basking area. It is also a great way to save some money and still have an awesome place for your turtles to bask on.